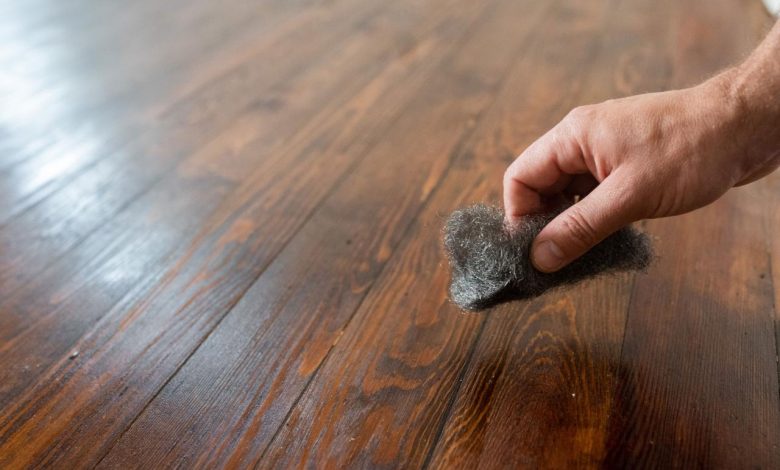
Can you refinish wood floors yourself?

Refinishing wood floors can feel like a daunting task, especially if you’re considering taking on the project yourself. Sure, calling in the pros is always an option, but for those of you who are DIY enthusiasts, the challenge of transforming your floors with your own hands can be irresistible. So, can you refinish wood floors yourself? Absolutely! Here’s how to tackle this project with confidence and get those floors looking fabulous.
Why Refinish Wood Floors Yourself?
First off, refinishing your wood floors can significantly improve the look of your home while increasing its value. It’s also incredibly satisfying to look at a beautifully finished floor and know that you did it yourself. Plus, doing it yourself can be cost-effective—you’ll save money on labor costs, which can be pretty hefty in this line of work.
What You’ll Need
Before you dive in, you’ll need to gather some essential tools and materials:
- Sander: You can rent a drum sander or an orbital sander from your local hardware store.
- Sandpaper: Get various grits for different stages of sanding.
- Vacuum and Tack Cloth: To clean up dust between sanding stages.
- Stain (if you want to change the color): Choose a stain that complements your home’s interior.
- Polyurethane or another type of sealant: This will protect your floors after you refinish them.
- Safety Gear: Don’t forget masks, goggles, and ear protection.
Step-by-Step Guide to Refinish Wood Floors
Step 1: Prep the Room
Empty the room completely. This means furniture, curtains, and anything else that dust can stick to. Seal the room as best as you can by closing doors or hanging plastic sheets to prevent dust from spreading throughout your house.
Step 2: Sanding
The real work begins with sanding. Start with a coarser grit sandpaper to remove the old finish and any imperfections from the wood. Be sure to sand evenly to avoid uneven surfaces. As you progress, switch to finer grit sandpaper to smooth out the wood. Remember, sanding is dusty work, so keep that vacuum handy to clean up as you go.
Step 3: Cleaning
Once the sanding is done, it’s crucial to remove all the dust. Vacuum thoroughly and follow up with a tack cloth, which will pick up any residual particles. The cleaner the floors, the better your finish will look.
Step 4: Staining (Optional)
If you’re changing the color of your floors, now’s the time to apply the stain. Use a rag or a brush and work in sections, following the grain of the wood. Allow the stain to penetrate according to the manufacturer’s instructions, then wipe off any excess. Let it dry completely.
Step 5: Sealing
Apply your chosen finish, such as polyurethane, to protect the wood and give it a beautiful shine. Use a brush or a roller, and apply the finish in thin, even coats. Be sure to let each coat dry thoroughly and sand lightly between coats with very fine sandpaper. This ensures the next coat adheres better and results in a smoother finish.
Step 6: The Final Touch
After the final coat of sealant has dried, inspect your floors for any missed spots or bubbles. If everything looks good, you can start moving furniture back in—but gently! It’s best to wait a few days before putting area rugs back on the floor to ensure the finish is completely cured.
Tips for Success
- Take Your Time: Rushing through any step, especially sanding and sealing, can result in a less-than-ideal finish.
- Ventilation is Key: Keep your work area well-ventilated to avoid fumes from stains and sealants becoming a health hazard.
- Practice Makes Perfect: If you can, practice on a piece of scrap wood or an inconspicuous part of the floor to perfect your technique.
Conclusion
So, yes, you can definitely refinish wood floors yourself! It might take some elbow grease and a bit of learning, but the outcome is incredibly rewarding. Not only do you save money, but you also get the satisfaction of having revitalized your home with your own two hands. Plus, every time you look down, you’ll be reminded of what you can accomplish with a little time, effort, and the right approach. Happy refinishing!


